As the end of the school year approached, I wanted to try to
come up with sculpture lesson for my 3D II students. Last year in 3D Design 1
they did a pop art sculpture lesson focusing on Claes Oldenburg and Coosje van
Bruggen. They used papier mâché to create sculptures of ordinary, everyday
objects on a larger scale. (Think MASSIVE pencil!) Since they already had a
foundation in papier mache, I wanted to challenge them with something a little
bit more conceptual as well as more technical.
When I began reviewing gaps in my curriculum, I realized
that I never really did any type of portraiture with this group of 3D Design
students. Since students in Art 1, Art 2, Art 3, and AP Studio all do at least
1 portrait each year, I wanted to give my 3D Design II students an opportunity
to create a portrait.
I thought back to self-portraits I had done in college and thought
about my absolute favorite one. In my watercolor class, we had to create a
portrait in the style of, “A Portrait of the Artist as: ___________.” This
was definitely my favorite and most memorable portrait. I created a “Portrait
of the Artist as: A LAWN GNOME.” It was so much fun to imagine myself as
something totally unexpected and off the wall. So, in planning this lesson for
my 3D II students, I thought, “Why can’t I use this statement as the premise of
my self-portrait lesson?”
I began to work on a PowerPoint on self-portraits by a
variety of artists. We analyzed and interpreted a number of self-portraits by
Frida Kahlo, Rembrandt, Judith Leyster, Marie-Denise Villers, Pablo Picasso,
among many others. I purposely showed them only 2D portraits and then engaged
them in discussion on how these portraits could also be done in 3D form.
 |
| A Portrait of the Artist: Breaking Down a Wall. |
After our critique and discussion, I outlined the premise of
this project, stating they would have to create a self-portrait sculpture by
filling in the blank, “A Portrait of the Artist as: ________________.”
Initially, the students were a bit apprehensive. They were
worried they would have to do a face or body. (Encouraged, but not mandatory.)
Then they became apprehensive about coming up with an idea. We devoted one
class to brainstorming. I made a web on a large piece of butcher paper and
wrote “A Portrait of the Artist as: _________” in the middle. Students filled
the web with ideas, even the most silly and ridiculous ones. This was very
helpful because it allowed students to work as a group to come up with ideas,
which made it less intimidating and help them jump start on their own ideas. I
then conferenced with students individually and helped them sketch. They spent
1 whole week developing ideas and sketching. One awesome aspect of this project
is that ANYTHING can be made with paper mâché and students could chose to do a
sculpture in the round, a relief sculpture, a portrait bust, a mobile, or
something totally different. They really had to stretch their creativity and
think about how they wanted to represent themselves. As their final project for
the year, I wanted to give them total creative freedom. Here are some of the
ideas we came up with:
 |
| A Portrait of the Artist as: a Waterfall |
A PORTRAIT OF THE ARTIST AS: _____________.
Opposite
(as in, their opposite personality)
Indecision
Animal
Athlete
Warrior
Courtesy
Strength
Layers
 |
| A Portrait of the Artist as: a Snow Globe. |
Landscape
Toy
Beauty
Super Hero
Pepper
Grace
Freedom
Pez
Dispenser
Dinosaur
Sunshine
(Just a
few of the many ideas!)
 |
| A Portrait of the Artist as: An Open Book. |
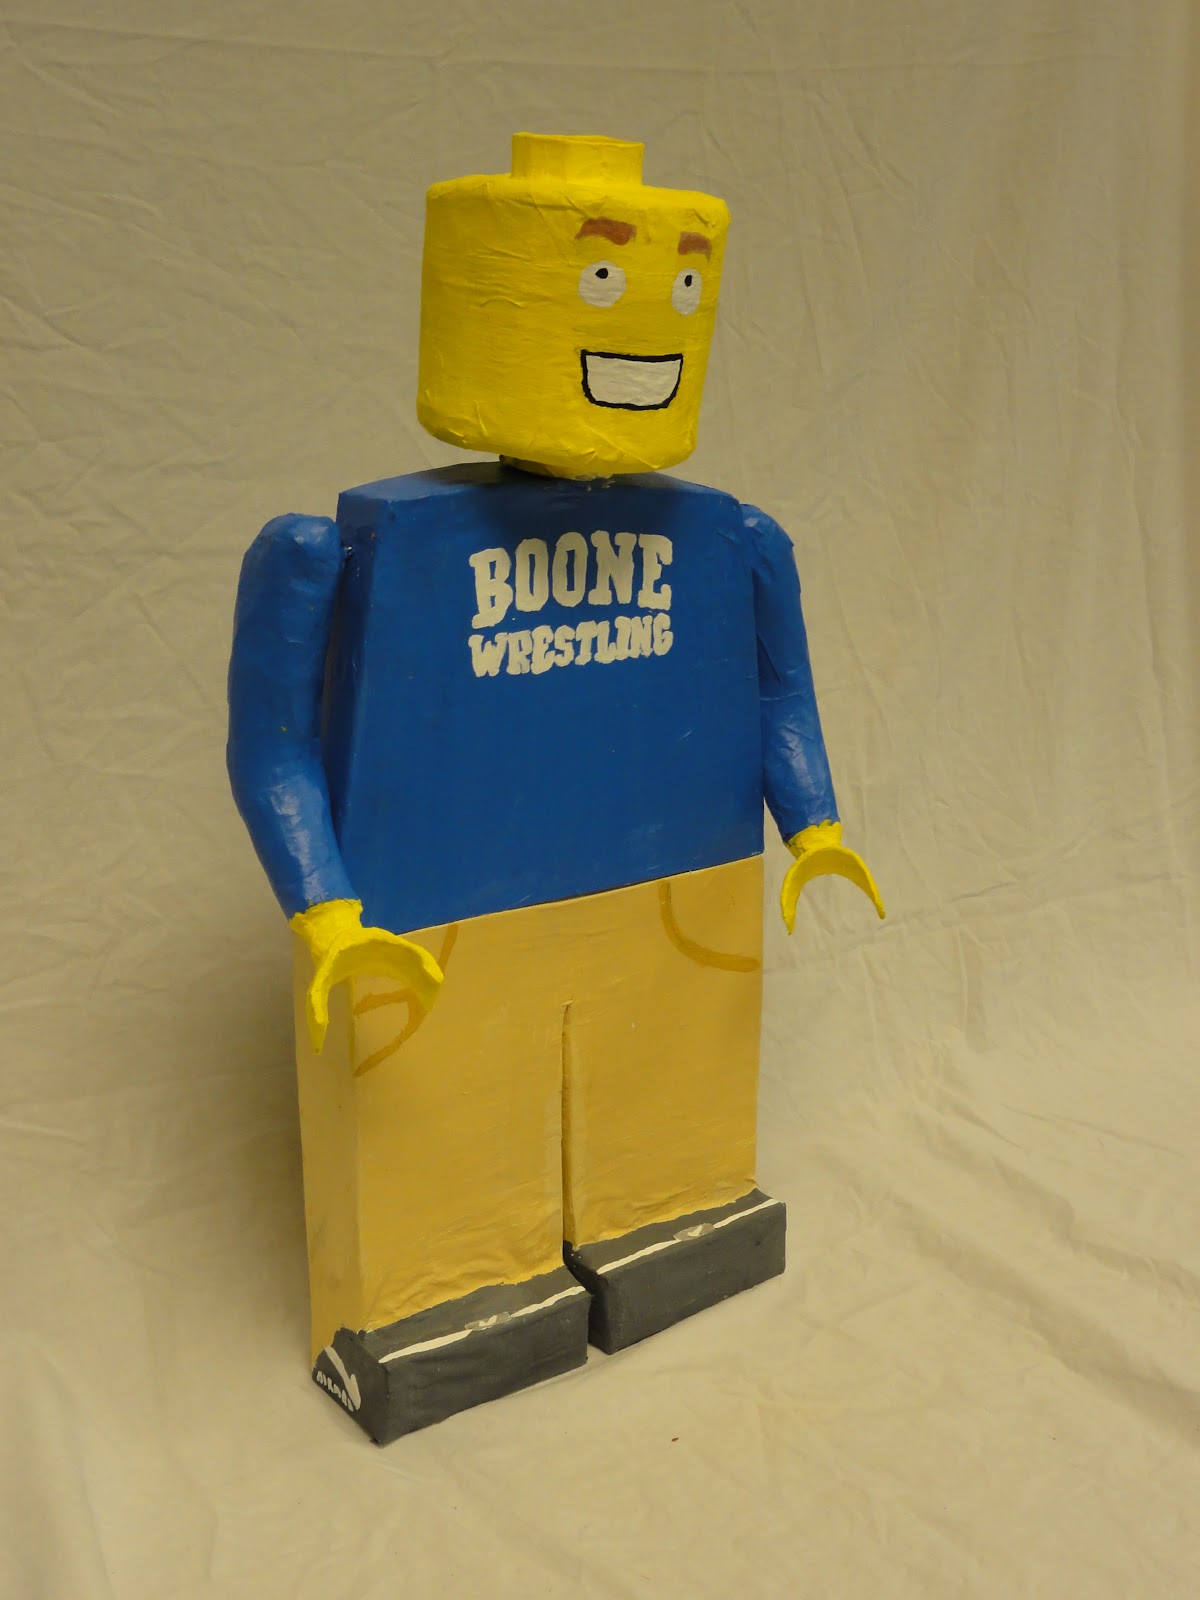 |
| A Portrait of the Artist as: a Lego Man. |
This project took about 5 weeks in total. After students had
an idea, they jumped right into it! In terms of papier mache. It took about 2
weeks to construct the sculpture, 1 week to papier mache, and 1 week to paint
and embellish the sculptures. What I wasn’t expecting was how conceptual the
students became. Some took an abstract idea and showed it using a concrete
object, or they took a concrete idea and created a more conceptual sculpture. I
was really pleased with the variety of the sculptures. When I do this project
again I will do it more towards the middle of year as opposed to the end; that
way students would be more motivated and less distracted by end of the year
activities.
 |
| A Portrait of the Artist as: Grace. |